How To Make Custom Tumblers In 3 Different Ways
Want to make your own personalized tumbler for yourself or as a gift? Making tumblers can be really fun and easy. This article will show you how to make custom tumblers with decals, paint, glitter and how to design online! 
1. Vinyl Decals
Decorating using a decal is one of the easiest ways to personalize tumblers. Many online sellers will make customized decals for delivery.
Make or Buy The Decals?
You can buy pre-made decals, have them made by a professional, or you can make your own. Making them requires more time and money spent on materials, and the finished product might not look as professional, so buying a decal is the easier and more aesthetically pleasing option for many people.
To make a decal, gather materials, draw your design on heavy-duty vinyl, then cut out the design. Next, place transfer tape onto your design and burnish the back with your fingers. Then, apply the decal to the tumbler.
Applying The Decal Properly
Because of the rounded surface of tumblers, applying a decal can be tricky for an inexperienced person. Positioning it in a straight line, and in the middle of the cup, can be a challenge, so this may be a learning curve. Use a right-angle ruler to measure the decal and tumbler to properly center it and use the ruler as a straight line guide.
To apply your decal, clean the tumbler with rubbing alcohol to remove oils and dirt. Place your decal where you want it, then stick it on, making sure there are no bubbles or creases using a credit card edge. Once it’s stuck, slowly remove the transfer tape starting with a corner and unpeel diagonally. Then, you’re done! Just make sure to hand wash your tumbler so it lasts longer.
2. Paint
Painting your DIY tumbler involves a few more steps than applying a decal, but it’s still easy.
To spray paint tumblers, apply painters’ tape to the top and bottom half inch of the mug. Cover the top with press n’ seal wrap to keep paint from getting inside. Use protective enamel spray paint in a few layers to make sure the paint will stay on, and let dry. You may need to use white spray paint as a primer before other colors. Once dry, spray a clear wood finishing spray to protect the paint, and you’re finished!
3. Adding Glitter to Make a Beautiful Custom Tumbler
Another popular option for DIY tumblers is glitter, which is more involved than other methods. Applying a layer of spray paint before glitter is a good way to make sure your cup doesn’t show missed spots, and you’ll use less glitter this way. If you choose not to paint, you’ll need a few layers of glitter.
Epoxy Resin vs. Mod Podge
To seal in the glitter, mod podge or epoxy resin can be used, and each is a little different in texture and application:
- Mod podge has a texture while epoxy is smooth.
- Mod podge is cheaper and easier to apply.
- Epoxy is FDA approved for food items, and lasts a really long time, but if dropped it cracks easier.
For both methods, you’ll use mod podge before the glitter as an adhesive. Make sure the cup is taped at the top and bottom and that you apply paint first if you choose that option. Then, using a cup turner, evenly apply the mod podge with a brush and pour glitter all around. Take off the tape, place the cup upside-down and let dry. Shake off excess glitter and apply the tape again, leaving a bit of space before the glitter on either end to seal it in with the next step.
For mod podge application, add another layer of mod podge and let dry after removing the tape. After it dries, sand the mug using wet sandpaper until surface is smooth.
To apply epoxy, use a cup spinner to evenly apply. Place wax paper under the tumbler to catch dripping epoxy, then:
- Measure out 15-20 ml equal solution into 2 small plastic cups of the A & B resin types.
- Mix both in an 8 oz plastic cup and use a Popsicle stick to get all the resin out of the cups. Stir for 3 minutes until clear with no bubbles.
- Pour the resin over the cup and rub it in evenly with gloved hands.
- Continuously rotate the cup on the spinner for the next 6-8 hours. A motor spinner is best for this; otherwise, turn it every 30 seconds or so for the first hour, and then every 10 minutes for the rest, depending on how much it’s dripping, until dry.
- Remove tape around 45 minutes into drying.
- Once dry, sand with wet sandpaper until smooth. Clean with rubbing alcohol.
Seek the Help of Professionals if You Have a Large Amount
You may decide you want to personalize and order your tumbler online from a professional company like CustomUSB, if:
- You decide you don’t want to craft your own tumbler with the time commitments, supply purchases, and level of risk DIY projects entail;
- You’re ordering in bulk and want to personalize your tumblers;
- You want to make sure they turn out perfectly.
When choosing a company to order from, make sure they have:
- Good online reviews
- No minimum order quantity
- Lifetime guarantee
- Items in your budget
- Easy return policy
- Fast shipping
- Your preferred style of tumbler
- Multiple color options
- High quality products
- High quality printing that lasts
- Easy-to-use website interface with easy image uploads and design
- In-house design team for assistance
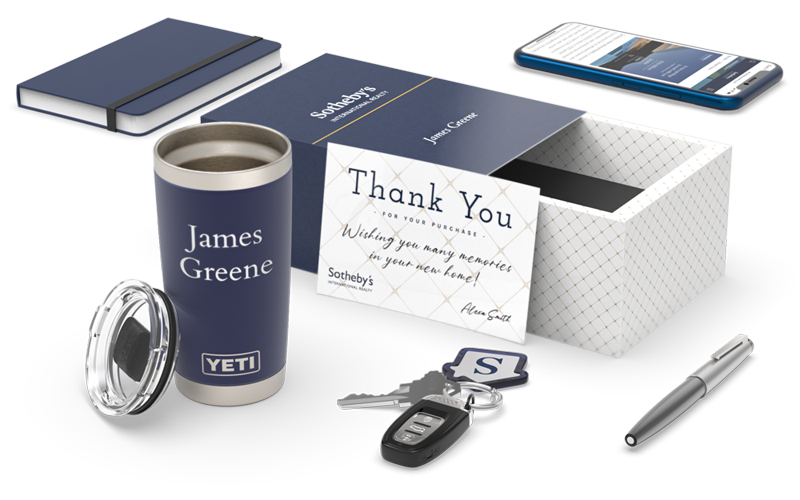
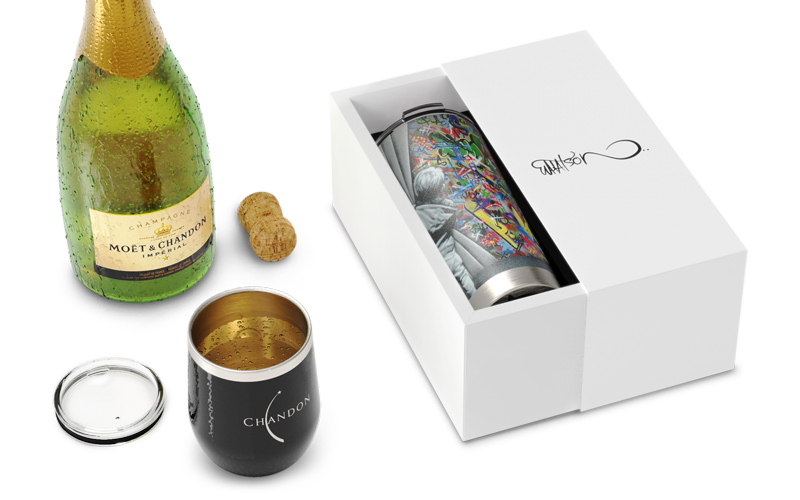
To order your tumbler from an online company, first choose your tumbler type, such as wine or coffee tumblers, straw or specific kind of lid, insulated, size, and more. You can also choose a favorite brand, like Yeti. Then, customize your tumbler by uploading your image, choosing your color, then sizing your image. If you need help with design, ask the company’s in-house design team for assistance. Next, save your design and order the quantity desired.
Wrapping Up
Making your own custom tumbler is easy, and you can choose the level of ease that you want to have with these options – including layering the various DIY methods to create a masterpiece all your own! We hope you found a way that works for you and that you get the tumbler(s) of your dreams!